
When my friend first shared with me this no-knead artisan crusty bread recipe, I was simply awed by how Mother Nature has taken over simple bread making. The most essential 'ingredient' in this recipe for a successfully baked artisan no-knead crusty bread is simply ... TIME.
This no-knead method of bread-making makes use of long proofing time with minimum amount of yeast to produce beautiful artisan breads. No mixer and no kneading is required. Cool, isn't it? You can prepare the dough the night before and bake the next morning and have freshly baked bread to start the day!!
This is a very easy to follow and forgiving recipe. You don't need to be too exact with the measurement though the measurement in grams are indicated for reference.
This is my my try and I'm not very satisfied with the results though I am super amazed that bread can be baked this way. Will surely try again to improve further. :)


No Knead Honey Oatmeal Crusty Bread
Ingredients:
3 cups (450g) bread flour, sifted
1 1/2 tsp salt
1/4 tsp instant yeast
1 cup (80g) rolled oats
3 tbspn honey
14 oz (406g) cool water
Method:
1. In a large mixing bowl, mix together the bread flour, salt, yeast and rolled oats. Use a hand whisk to give the dry ingredients a good stir so that they are well mixed.


2. Add in honey and water. With a wooden spoon (or the handle of the wooden spoon. I used a chopstick), stir in the flour from the sides to the middle until the flour is well mixed and a 'mashy' dough is formed.


3. Cover with a plastic wrap and let it proof in room temperature for 8 - 24 hours.
4. After the first proofing after 8 - 24 hours, the dough would have doubled in volume.

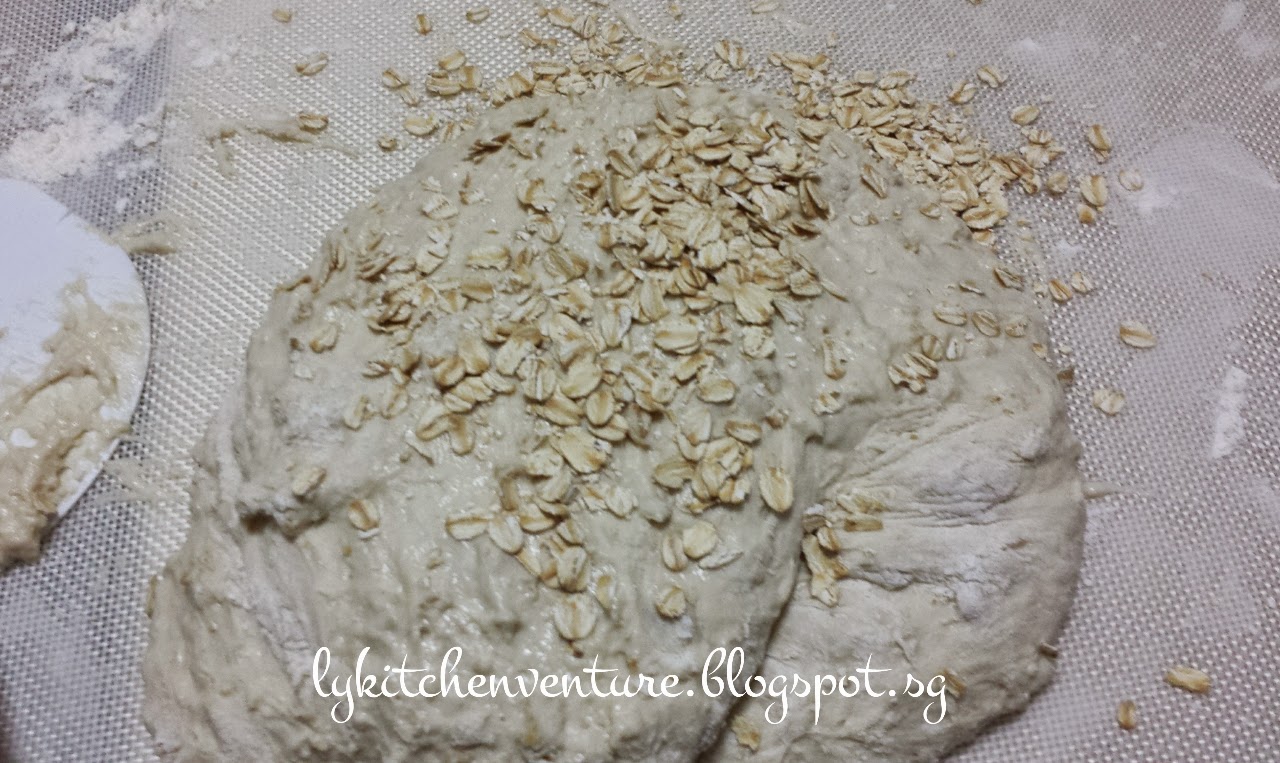
5. Scrap the dough onto a floured table-top. Dust hands and top of the dough with flour and lightly pat the dough to flatten it down. With a plastic scraper, fold the dough over until it forms a ball shape.
6. To set the oats on the top and sides of the bread, sprinkle some rolled oats over the work counter and spray some water onto the dough. Then roll the dough onto the oat.
7. Place the dough in a greased bowl, cover with a towel and let it proof a 2nd time for another 1 1/2 - 2 hours.
8. Preheat oven at 450F (230C) for at least 30 minutes with a casserole dish in the oven at the lower rack.
9. When the dough has been proofed for at least 1 1/2 hours, transfer the dough onto the preheated casserole dish. Score the dough with a pair of scissors and bake in oven with lid on for 30 minutes.
10. After 30 minutes, remove the lid and continue to bake for 5 - 15 minutes to get a rustic crust. (For a softer crust, you can choose to bake for 3 - 5 minutes without the lid instead.)

11. Remove bread when it's done and let cool on a wire rack.
Note :
1. The above uses a casserole dish. However, other than a casserole dish, I also read that others have used the following to bake with success (source: here):
- enamel coated cast iron pot
- dutch oven
- crockpot insert (if the knob on the lid is plastic, it must be removed or it will melt)
- glass pyrex dish with a lid
- a heat proof bowl with aluminum foil to cover
- stainless steel pot with lid
- clay bakers with lids or foil
- pizza stone with a stainless steel bowl to cover the dough
From the above, it seems that anything that can take the heat that has a lid or is tightly covered will work. The idea is to create a steam oven
inside the pan. The steam is what produces a nice crisp crust. Whichever type of container you use, just ensure that it can take
temperatures up to 450F (230C).
2. I've also read that these no-knead bread can also be baked on a cookie sheet, pie tin, bread pan or a skillet. (You can coat the dough with olive oil or vegetable oil before the 2nd proofing in a glass bowl. The oils will protect the dough, enhance the colour and prevent the dough from sticking.)
If you bake the bread using a cookie sheet or pie tin, there is no need to preheat them in the oven as they will come to temperature very quickly.
However, if you bake using a skillet, you will need to preheat the skillet in the oven as well or the bread crust will not bake properly.
Thanks for dropping by. Do link back to LY's Kitchen Ventures if you have used any information published in this blog.
Hi LY,
ReplyDeleteHee ... hee... the proofing time is dreadful to me. But I'm tempted to try this "no knead bread" ... Honey Oatmeal surely taste good.